Entry · Ref 1VB77-V3
The Art of Hatching Silkworm Eggs: A Practical Guide for Beginners
- Posted
- 2026-11-03
- Last amended
- 2026-11-03
- Account
- @hatchingsilkwormeggsfocus
Raising silkworms at home is a rewarding experience, but it starts with one crucial step: hatching silkworm eggs. Whether you are a hobbyist or a small-scale home silkworm farm owner, the process of bringing Bombyx mori eggs to life requires patience, observation, and a bit of know-how. I have seen many newcomers struggle at this stage, often because they overlook the subtle cues that eggs give about their readiness to hatch. Let me walk you through what I have learned from years of hands-on silkworm husbandry.
Understanding Your Silkworm Eggs
Before you even think about hatching silkworm eggs, you need to know what you are working with. Bombyx mori eggs are tiny, about the size of a poppy seed, and they change color as they develop. Freshly laid eggs are pale yellow, then turn brown, and eventually dark grey or black just before hatching. This color shift is your first clue about the incubation period. If you receive eggs that are already dark, they are likely close to hatching, and you should prepare your hatching tray immediately.
Egg storage is another factor that beginners often get wrong. Silkworm eggs can be stored in a cool place for a short time, but they need a diapause break to restart development. In domestic settings, this usually means moving them to a warmer environment gradually. I keep my eggs in a small container in the refrigerator for no more than a few weeks, then bring them out to room temperature. This mimics the natural seasonal change and primes them for hatching.
Setting Up the Hatching Tray
A proper hatching tray is essential for successful silkworm rearing. You do not need anything fancy a shallow plastic or cardboard box with good ventilation works well. Line the bottom with a layer of paper towel or a piece of fine mesh. This surface gives the newly hatched larvae something to grip as they emerge. I also place a small, damp cotton ball in one corner to maintain a stable humidity level without soaking the eggs. Too much moisture can cause mold, and too little can desiccate the eggs, so aim for a balance around 70 percent relative humidity.
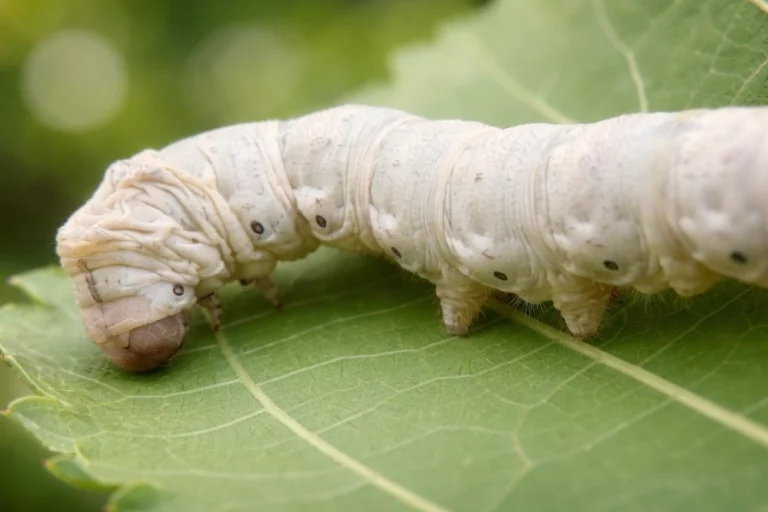
Temperature control is equally critical. The ideal range for hatching silkworm eggs is between 24 and 28 degrees Celsius. I use a simple heat mat with a thermostat to keep the tray at around 25 degrees. If you do not have a heat mat, a warm room or a spot near a heater can work, but avoid direct sunlight or drafts. Consistent temperature is more important than hitting a perfect number every time. I have had batches hatch at 23 degrees, just a day or two later than those kept at 26.
The Waiting Game
Once your eggs are in the tray with proper temperature control and humidity level, the incubation period begins. For Bombyx mori, this typically lasts between 10 and 14 days, though it can vary with temperature. During this time, check the eggs daily but do not disturb them. I use a magnifying glass to look for tiny dark spots moving inside the eggs, a sure sign that hatching is imminent.
The first sign of hatching silkworm eggs is usually a small hole in the eggshell. Within a few hours, a tiny black larva pushes its way out. These newly hatched larvae are incredibly small, about three millimeters long, and they are very fragile. Do not touch them with your fingers. Instead, use a soft, fine brush or a feather to gently move them. This is called the brushing stage, and it is one of the most delicate parts of brood care.
Feeding the First Instar Larvae
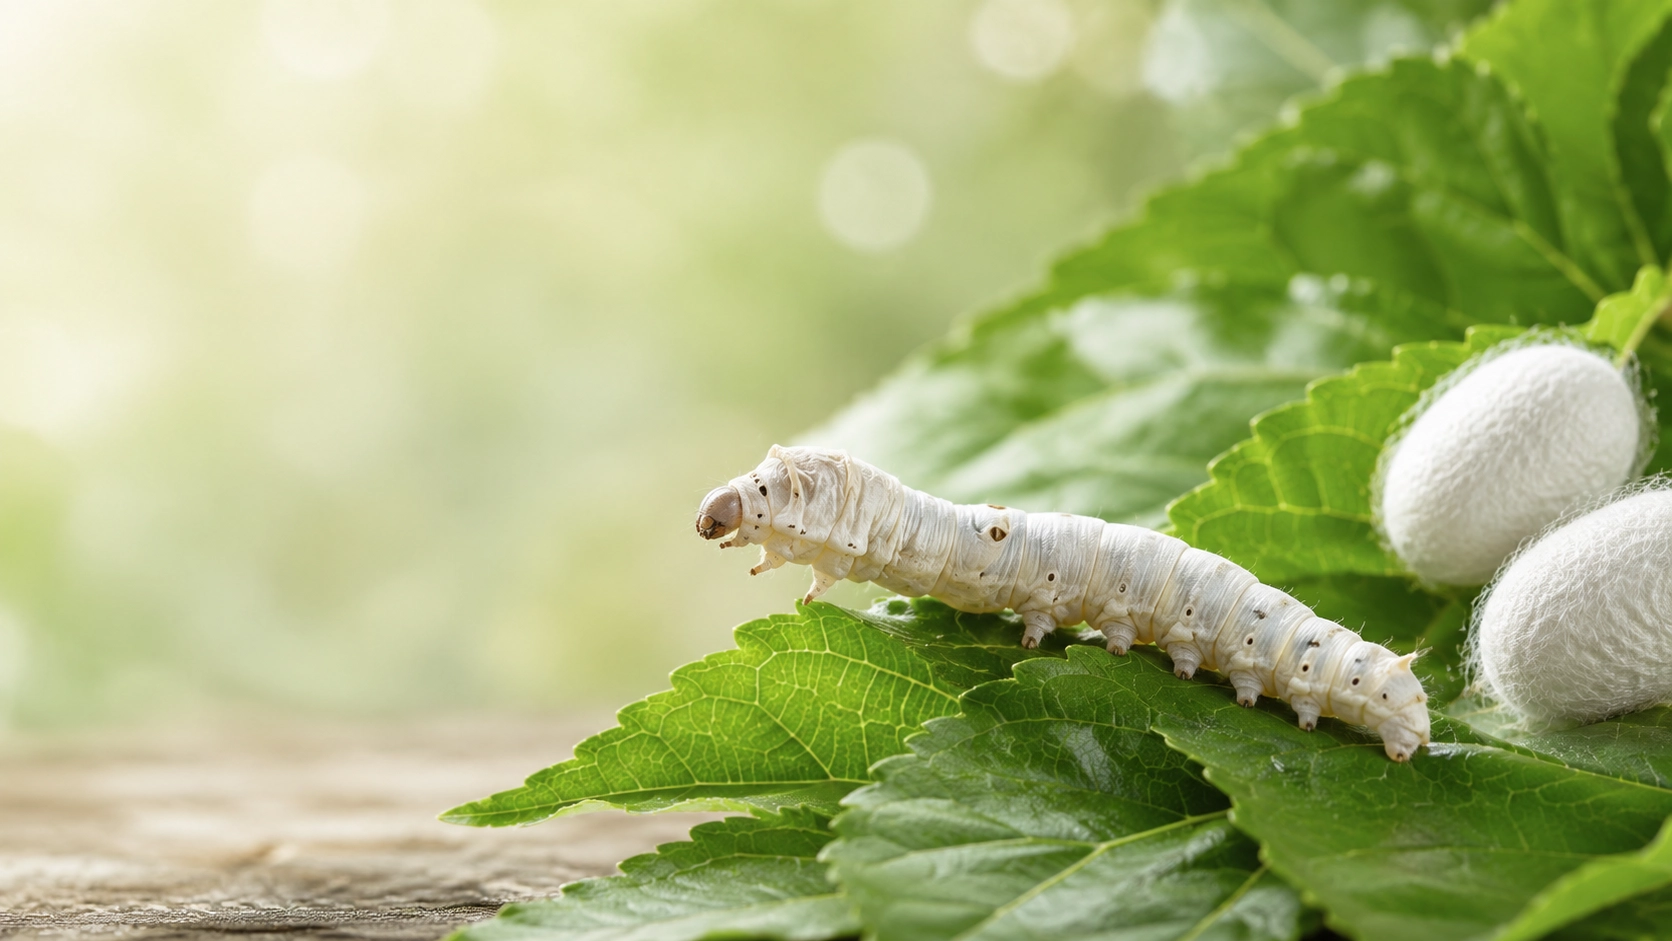
After hatching silkworm eggs, the first instar larvae need food almost immediately. Their first meal should be fresh mulberry leaves or, if you are using an alternative, a high-quality silkworm chow. I prefer mulberry leaves because they mimic the natural diet and seem to boost the health of the larvae. If you are growing your own mulberry tree, pick the youngest, most tender leaves from the tips of branches. These are easier for the tiny mouthparts of first instar larvae to chew.
Chop the leaves into small strips about the width of the larvae themselves. Place these strips directly on top of the newly hatched larvae in the hatching tray. They will climb onto the food and start feeding. Replace the leaves twice a day to prevent wilting and mold. At this stage, the larvae are so small that you might not notice them eating, but they are. Within a day, you should see tiny holes in the leaves, a good sign that your silkworm life cycle is off to a healthy start.
Common Mistakes with First Instar Larvae
- Overcrowding the hatching tray. Keep the larvae spread out so they can all reach food.
- Using old or dry leaves. Freshness is critical for the first few days.
- Forgetting to adjust humidity. The tray should stay covered loosely to retain moisture.
- Handling larvae directly. Always use a brush or a leaf to move them.
Managing the Incubation Period
The incubation period does not end once the first eggs hatch. Different eggs in the same batch can hatch over several days, so continue to maintain the hatching tray conditions until all viable eggs have emerged. I have had batches where the first hatchlings were already eating while other eggs were still dark and unhatched. This staggered hatching is normal, and it means you will have larvae at slightly different stages of larval development. Separate them by size if you can, to avoid competition and to monitor growth more easily.
One question I get a lot is about light. Some sources claim that silkworm eggs need darkness to hatch, others say light helps. In my experience, Bombyx mori eggs hatch fine in regular indoor light as long as temperature and humidity are stable. I keep the hatching tray in a well-lit room but away from direct sunlight. The key is consistency, not complete darkness.
From Egg to First Instar
Once the newly hatched larvae have all emerged and started feeding, you can move them to a larger rearing container. This transition marks the end of the hatching stage and the beginning of active silkworm breeding. The first instar lasts about three to four days, during which the larvae will double in size. They will then molt and enter the second instar. At this point, you can switch from chopped leaves to whole leaves, and your routine becomes more about feeding and cleaning than about delicate egg care.
I always keep a few extra eggs in storage in case a batch fails. Silkworm breeding is not always predictable, and having a backup ensures you do not lose a whole cycle. If you are serious about silkworm husbandry, consider setting up a small home silkworm farm with multiple trays at different stages. This way, you always have a steady supply of larvae and can practice brood care continuously.
Quick Checklist for Hatching Success
- Check the color of your silkworm eggs before starting.
- Set up a clean hatching tray with good ventilation.
- Maintain a stable temperature between 24 and 28 degrees Celsius.
- Keep humidity around 70 percent using a damp cotton ball.
- Prepare fresh mulberry leaves or silkworm chow for the first feeding.
Final Thoughts on Hatching Silkworm Eggs
Hatching silkworm eggs is the most critical phase in the silkworm life cycle. Get it right, and the rest of larval development becomes a routine of feeding and cleaning. Get it wrong, and you risk losing the entire batch. But do not let that intimidate you. With careful attention to temperature control, humidity level, and the timing of the brushing stage, even a beginner can achieve high hatch rates. I have seen people succeed on their first try simply because they paid attention to the details.
The joy of watching those tiny larvae emerge from their eggs and start their first meal is unmatched. It connects you to a tradition that goes back thousands of years, the art of sericulture. Whether you are raising silkworms for silk, for education, or just for the love of insects, the moment you see that first black head poke out of the shell is unforgettable. So take the time to prepare, be patient, and enjoy the process. Your silkworm journey begins with a single egg, and with the right care, it will grow into a thriving colony.